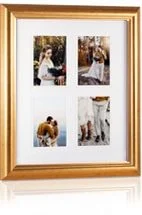


How To Measure Your Artwork If It Already Has A Border
Finding the perfect piece of artwork for your home can be a challenge. There are numerous factors to take into account, your home’s decor and style, your taste in artwork, and the amount of space in your home. So when you find your perfect piece or are gifted a piece of artwork and it has borders around it already, what are you supposed to do when framing it? We have you covered with these easy steps on how to frame your artwork with a picture frame and mat to cover up the borders around your piece for a finished frame ready to be hung up in your home. If your artwork or photo doesn’t have a border but you still are not sure how to frame it make sure to check out our blog post on how to measure your art.

What truly allows Art To Frames to stand out among other framing companies is our ability to create custom products of any size to match your vision.
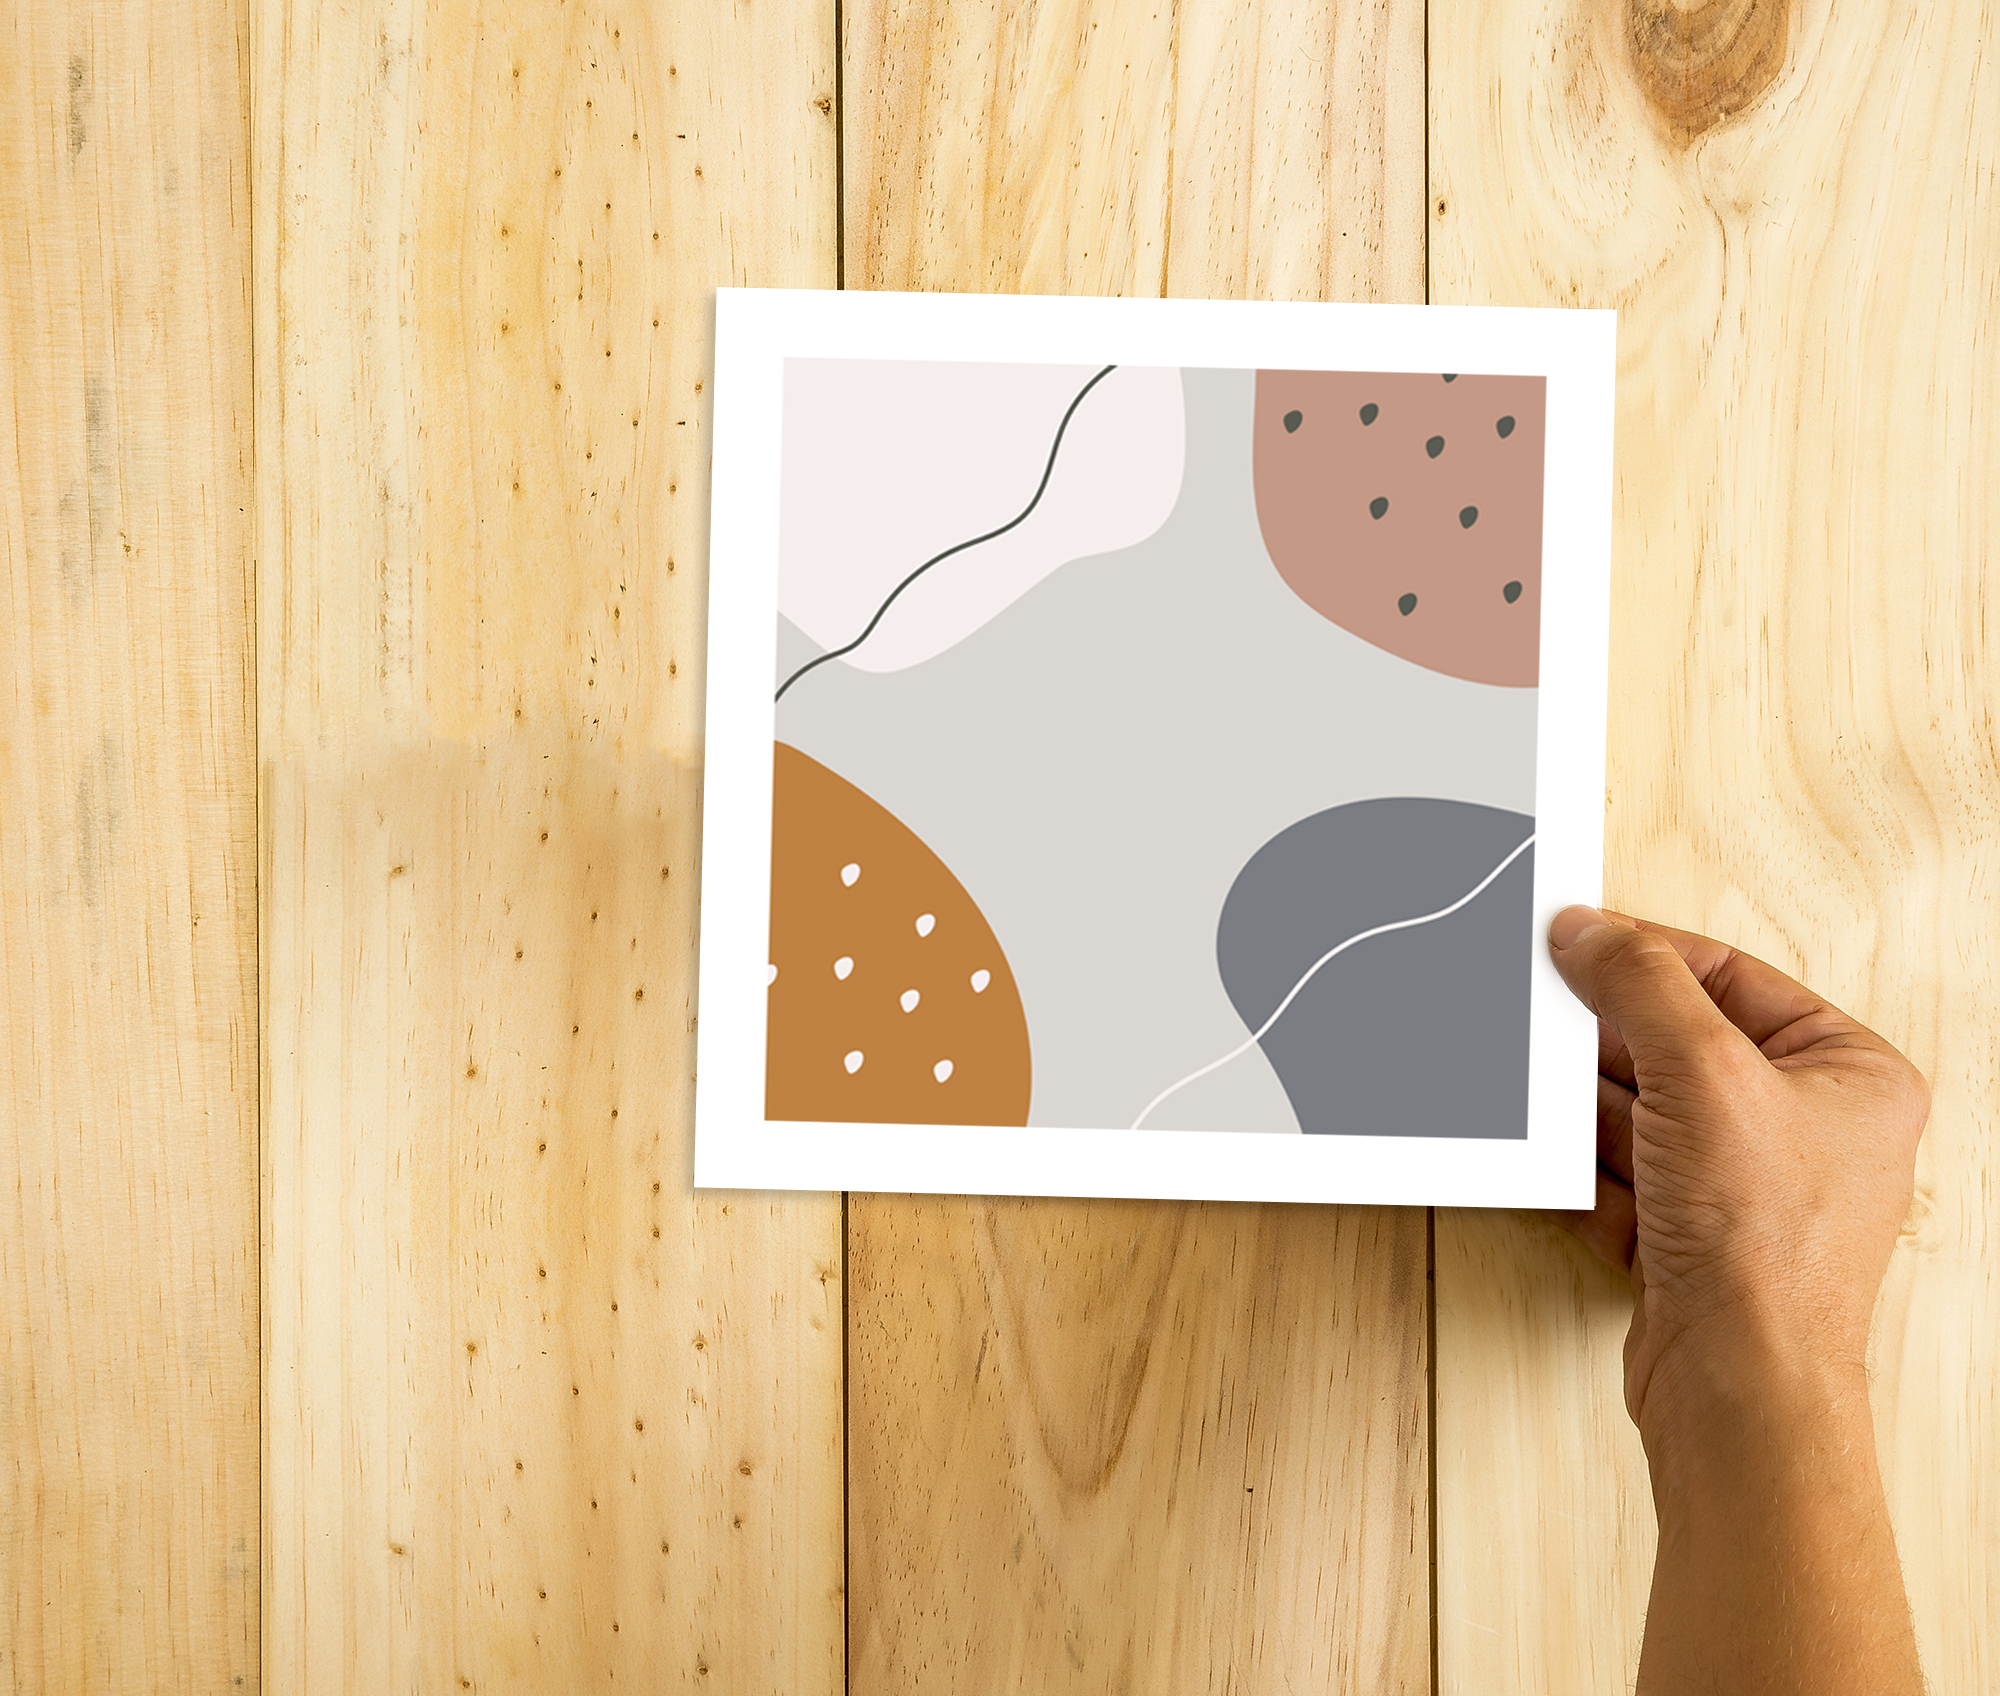
To begin the process of ordering the correct size frame, you will need a measuring tape or ruler to measure the size of your image.
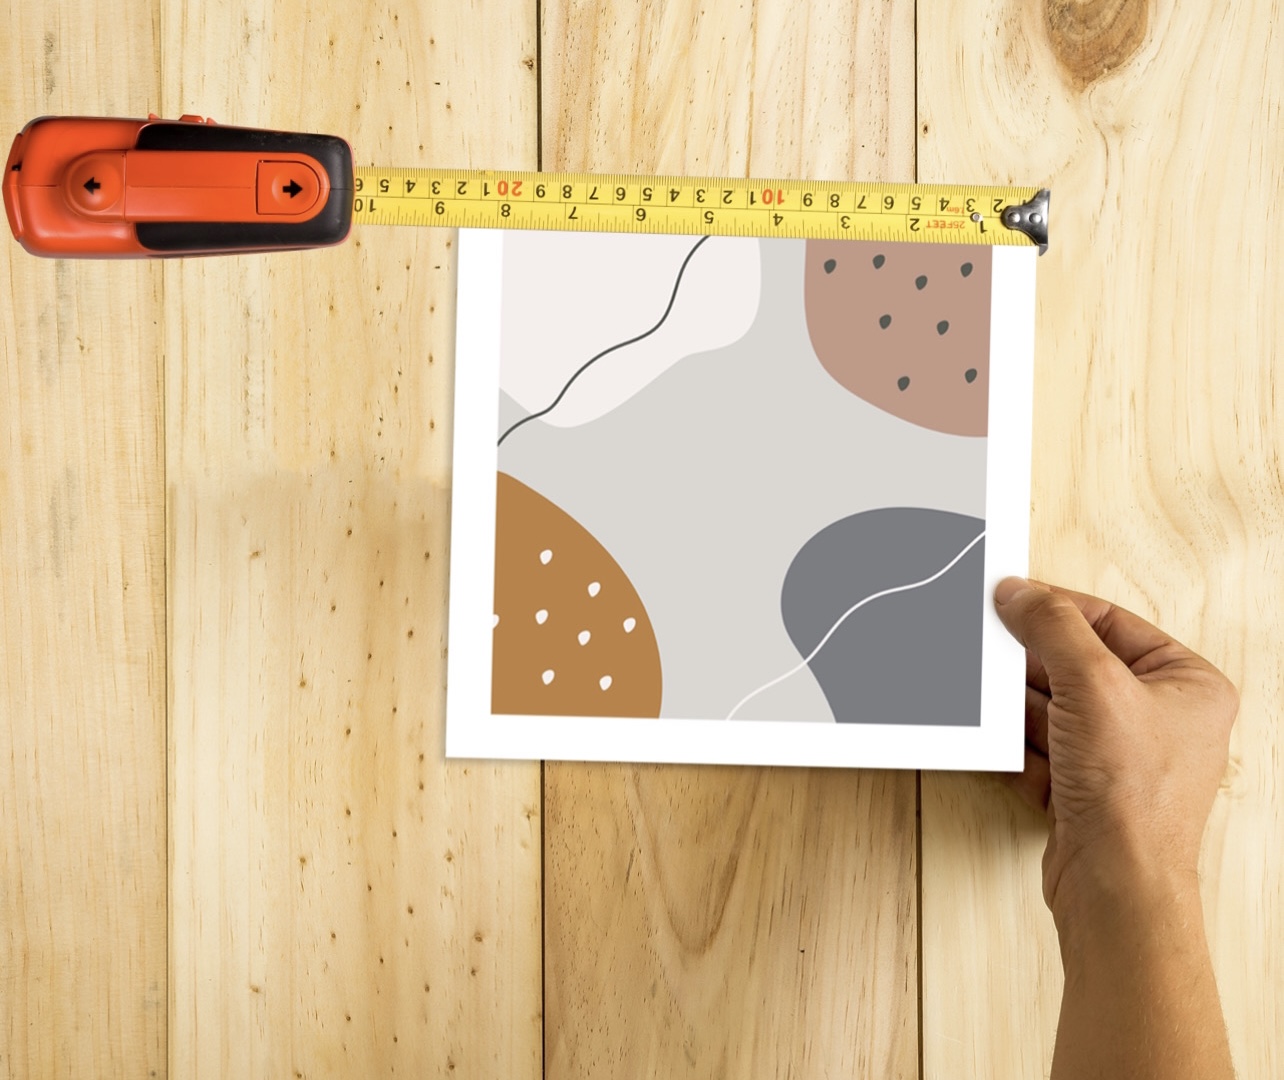
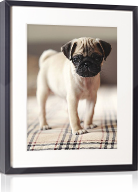
When measuring your print with a border you will need to measure just the art inside the border to start.
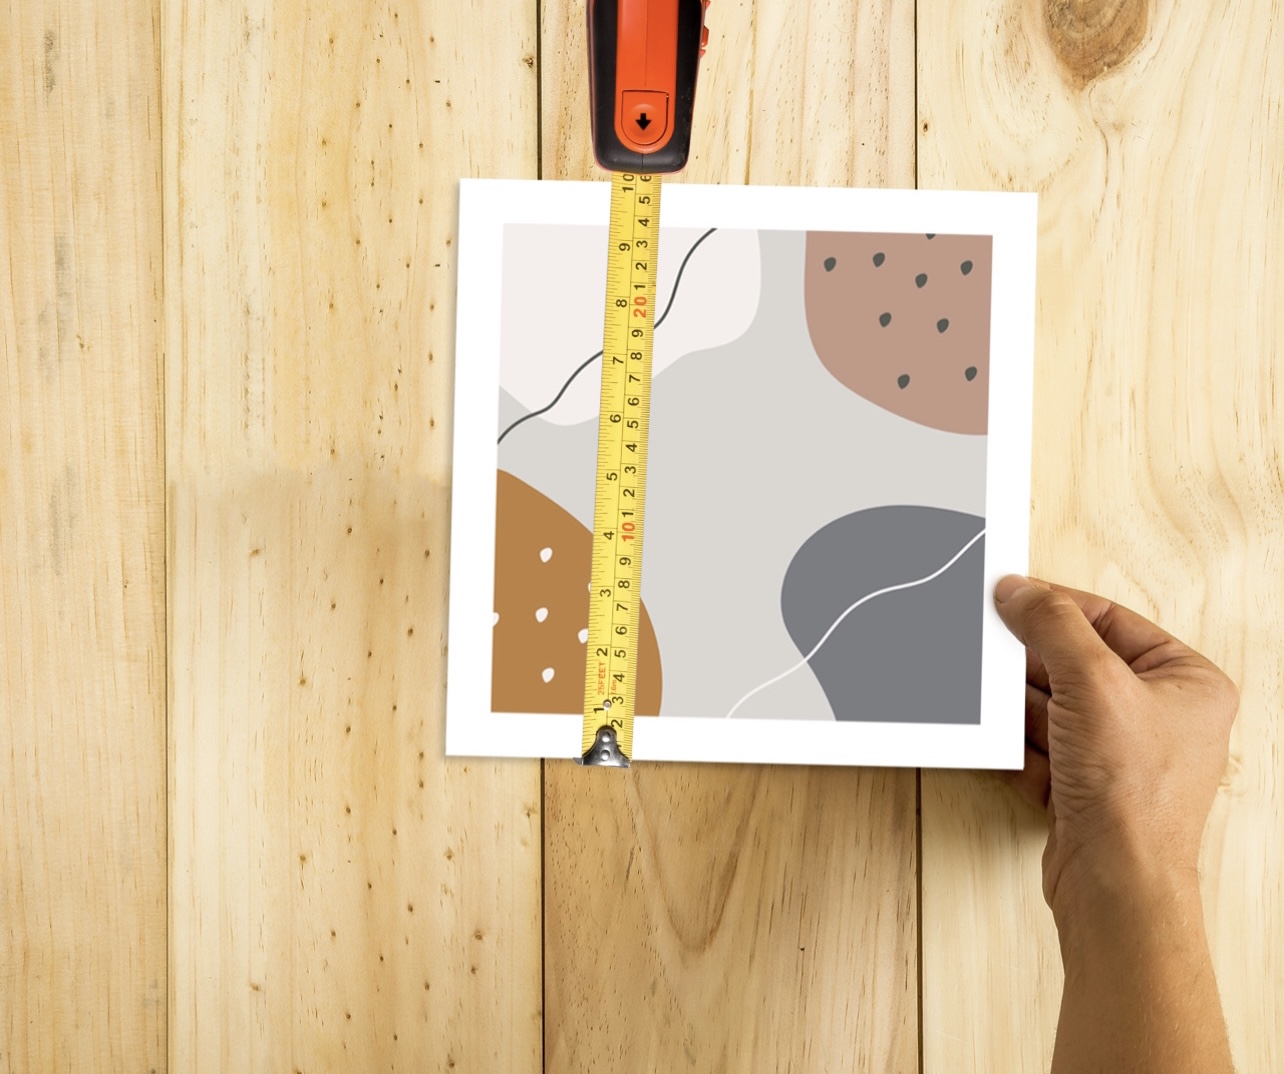
Separately measure just the width of the border surrounding your art piece.
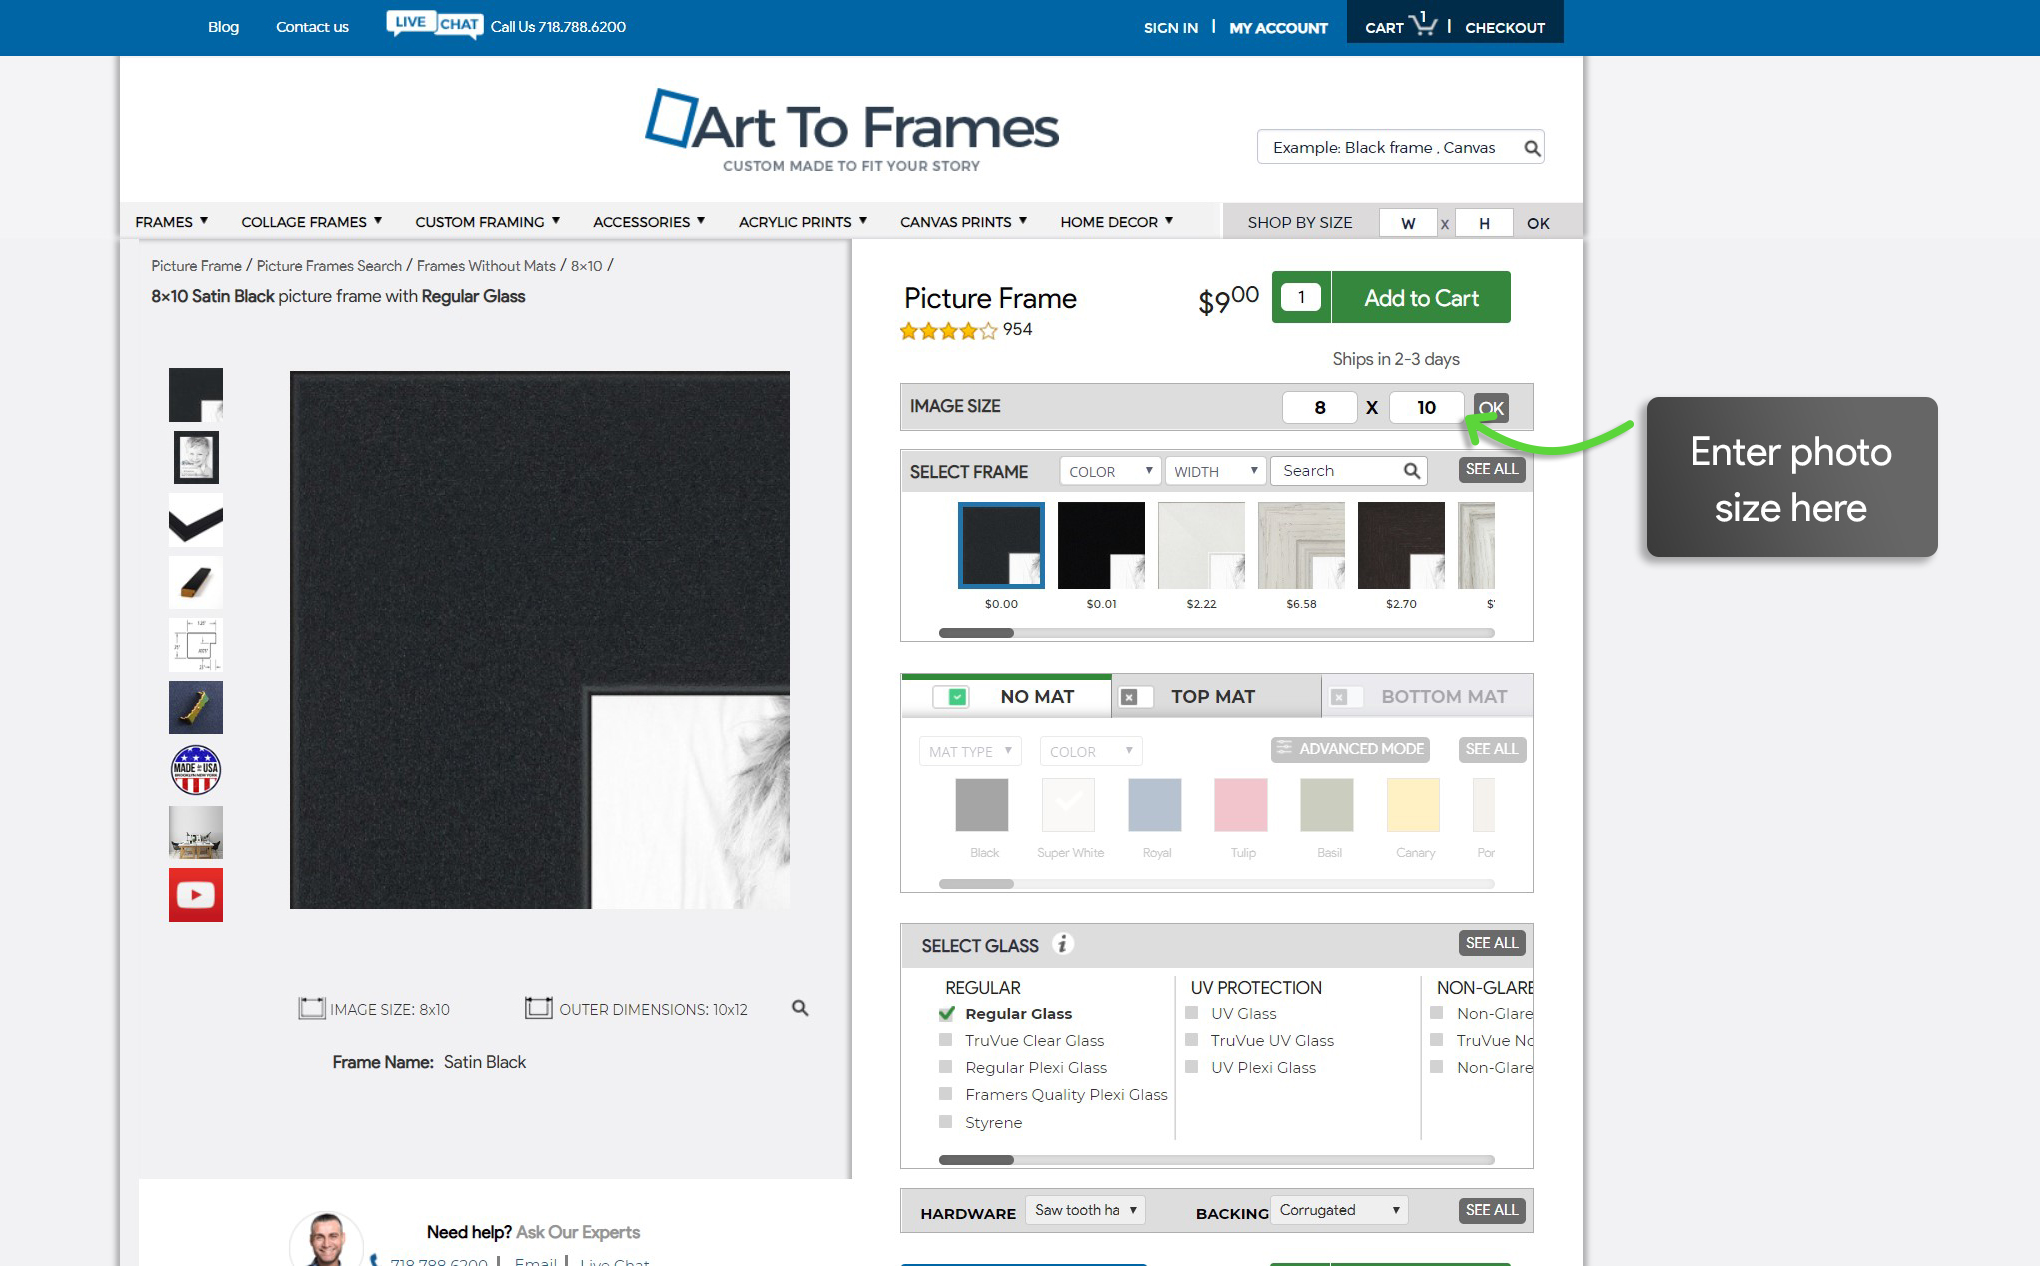
Our website takes the work out of figuring out how to size your size frame accurately. We take your image size measurements and show you over 200 picture frame styles to choose from for your artwork. Take your measurements for your art piece (excluding the border) and enter them into our website’s image size field.
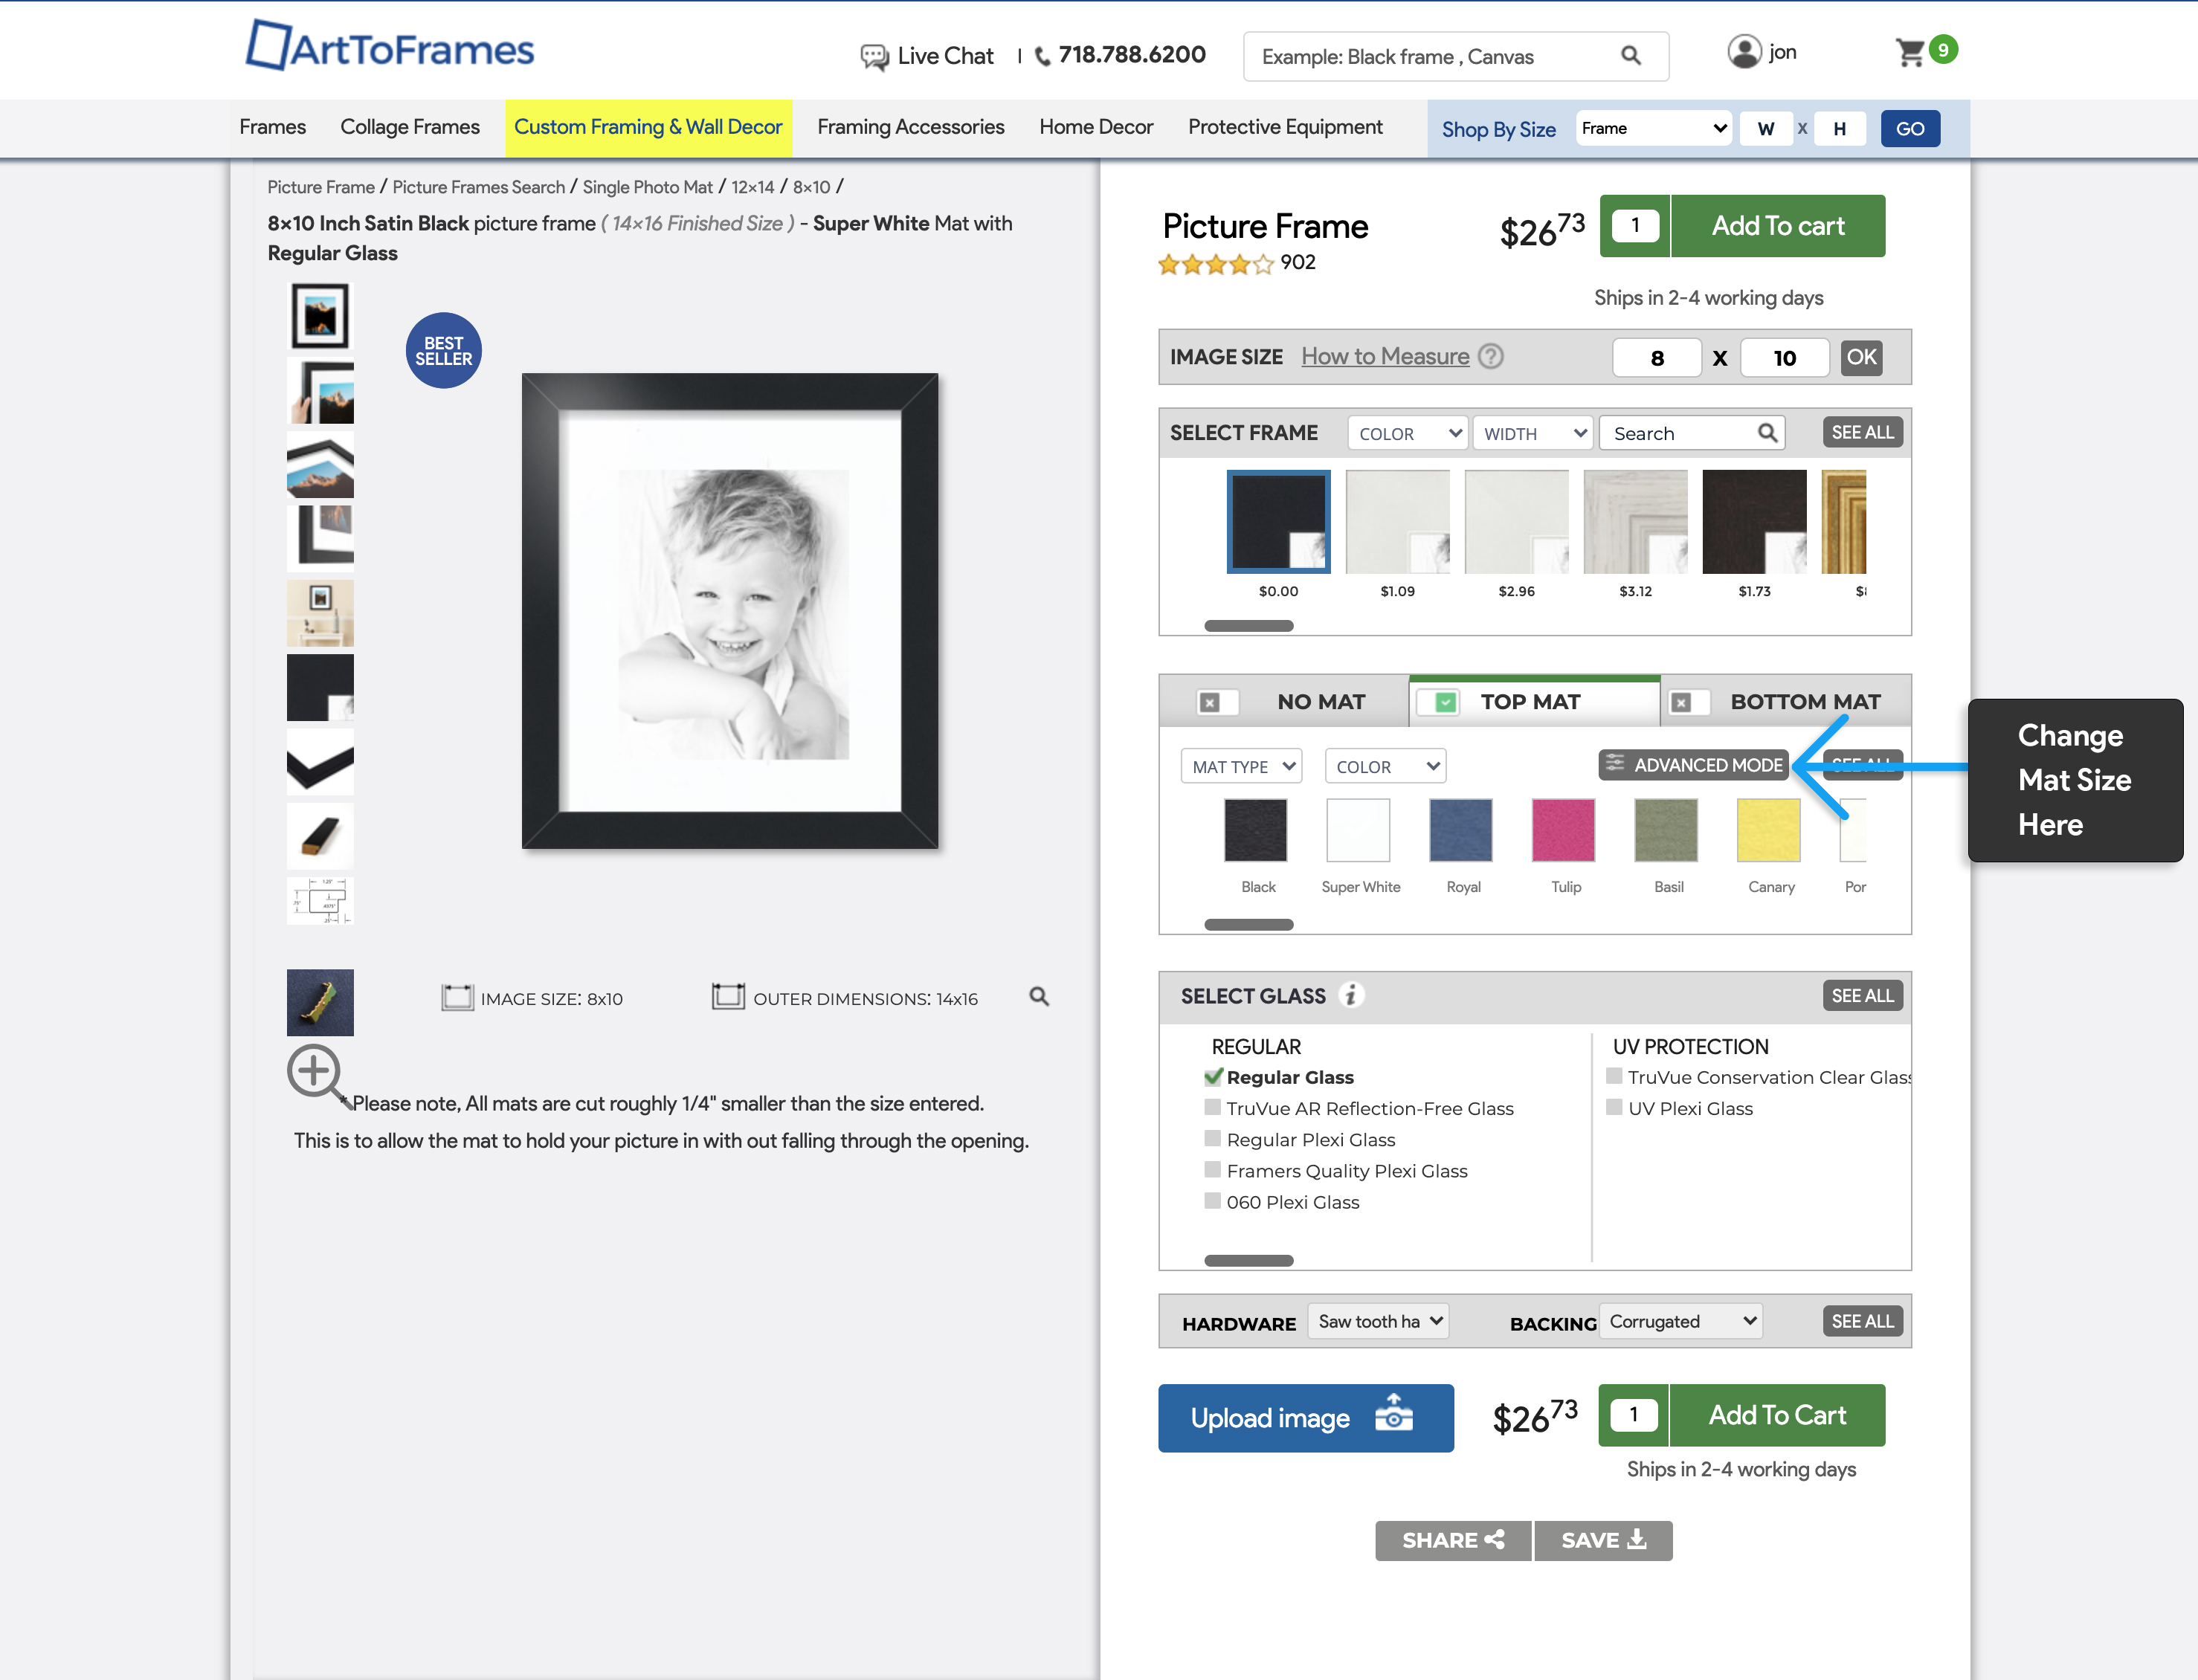
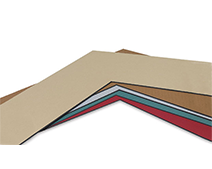
From there you will use the advanced mode for our desktop and use the measurements of the width of the borders as your mat’s thickness. This will ensure that your frame is sized accurately and has a mat to cover up the borders surrounding your image.
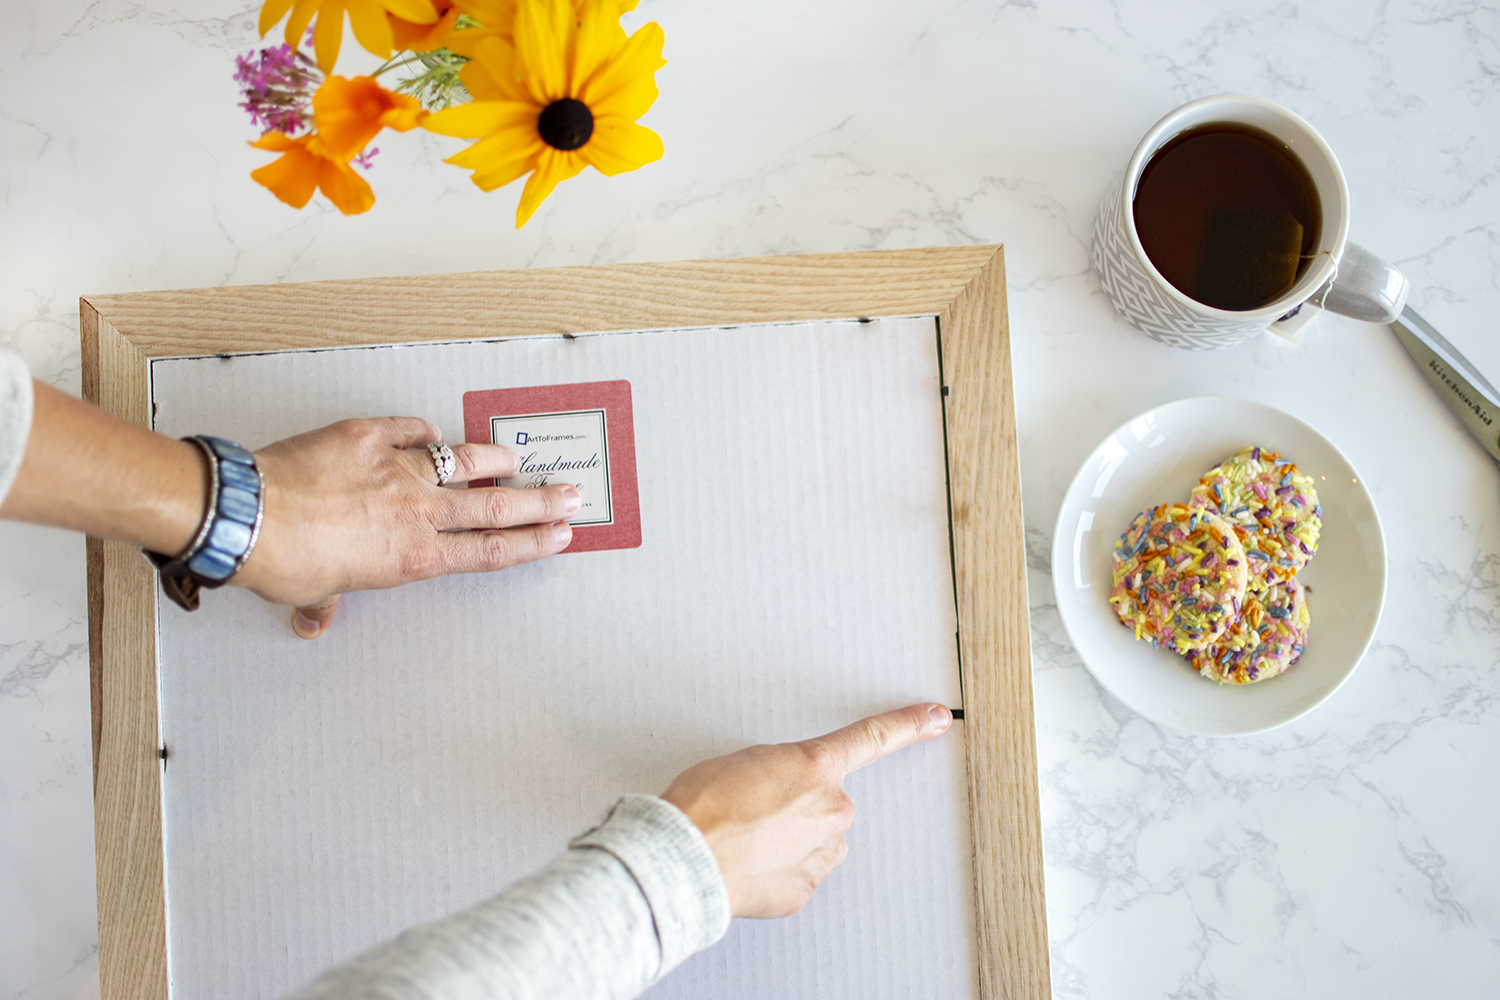
When you receive your frame you will bend back all of the black flexi tabs to remove the backing and mat.
Use clear tape or masking tape on the backside edges of your print and place centered on the back of your mat to hold it onto the mat.
After placing your mat and image inside the frame, place the backing on top of it and press the black flexi tabs down to secure your frame backing in place.
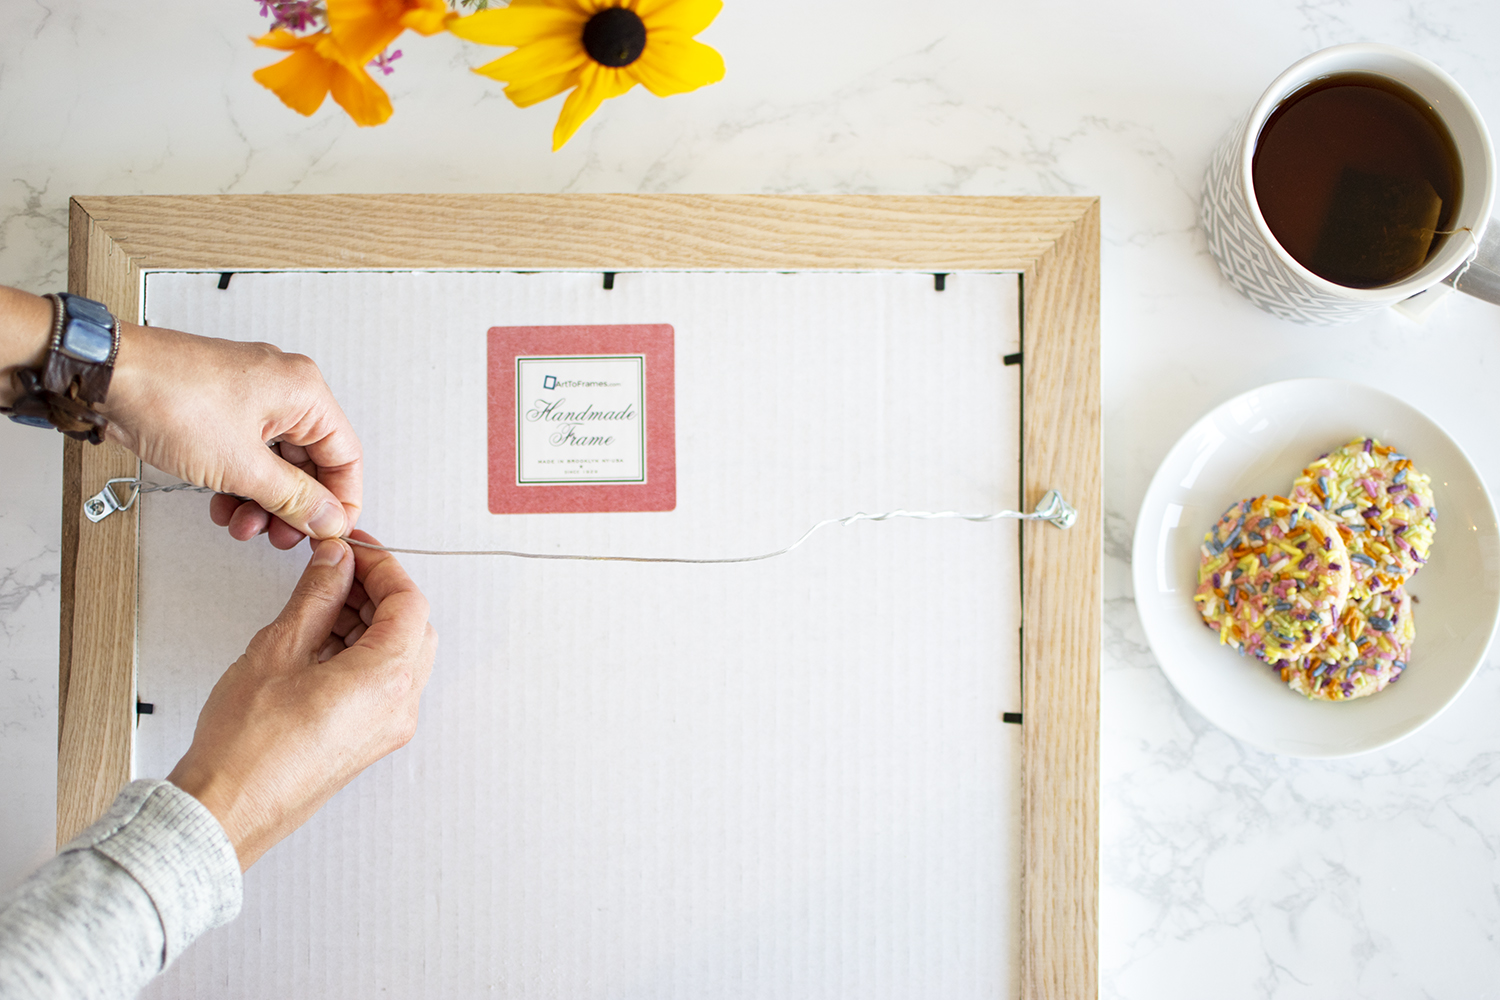
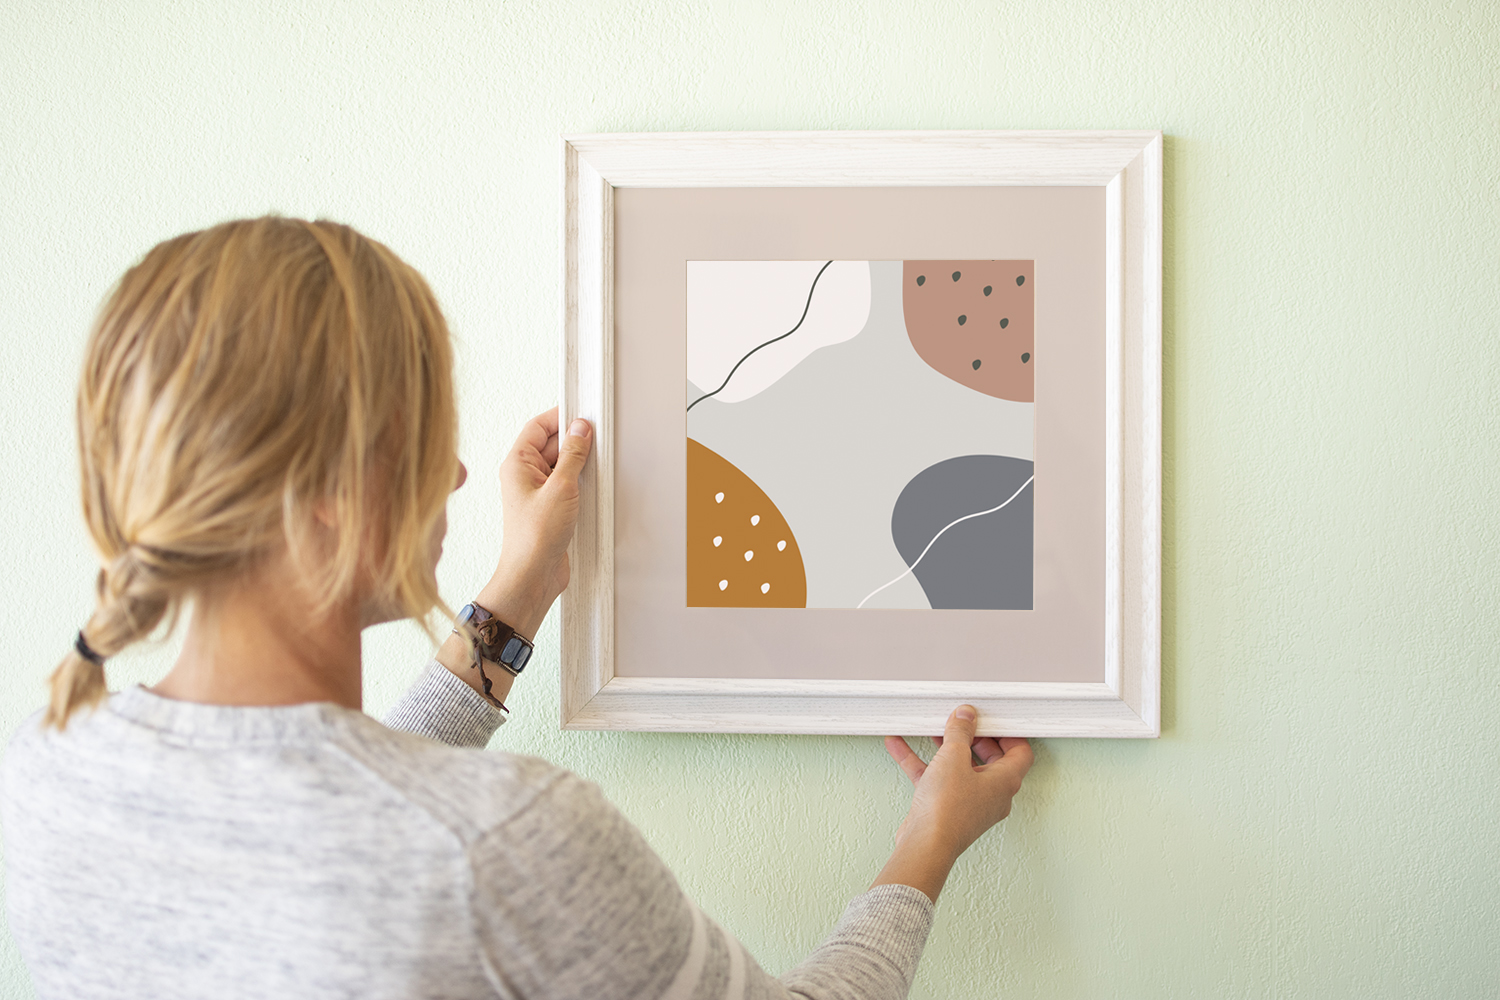
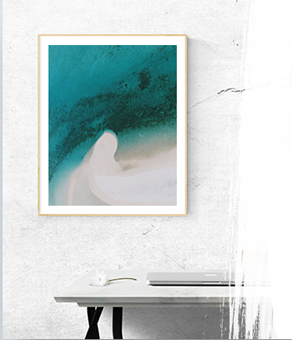
Install your frame’s respective mounting hardware, use a level to make sure your frame is properly balanced, and hang up your new frame to provide your home with beautifully framed artwork.