


How to Style A Nursery Gallery Wall With Art To Frames
Every nursery deserves a bright, colorful wall of art and photography - a vibrant, creative space to read, work on art projects, or just lay around during tummy time!
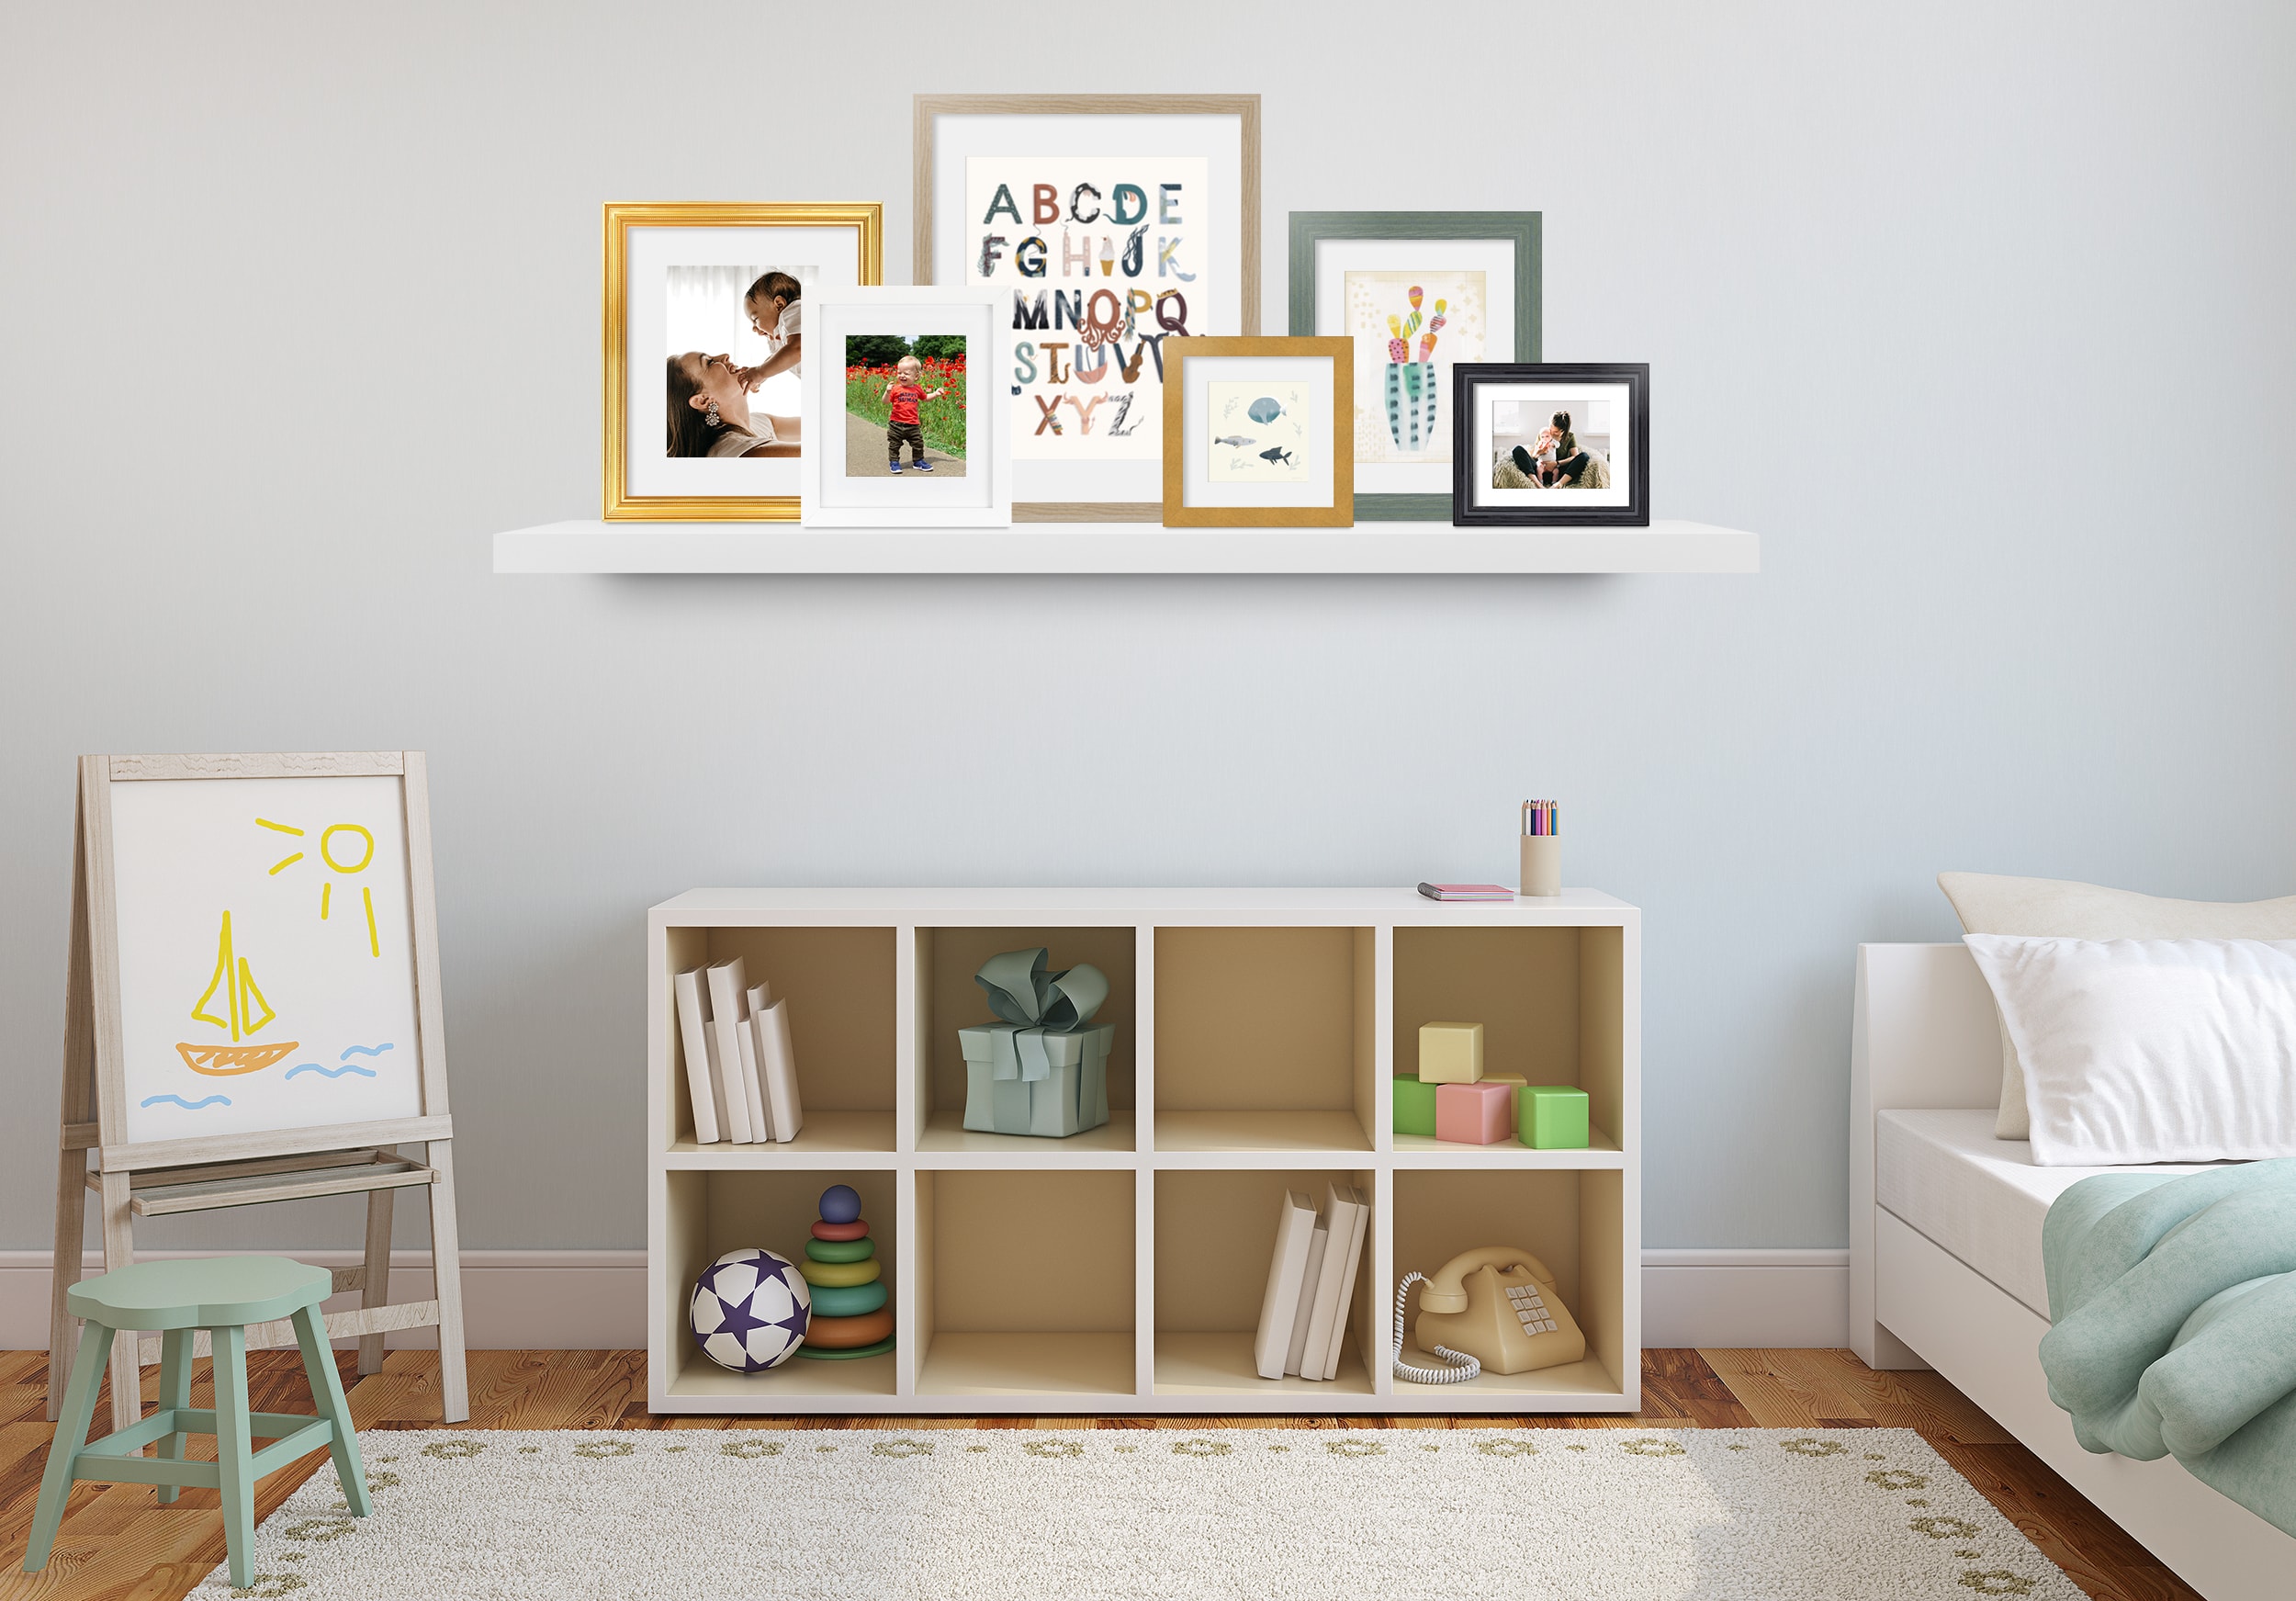
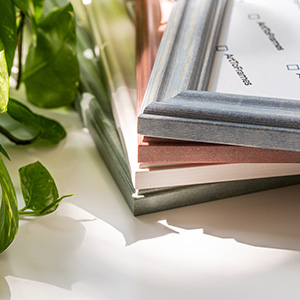
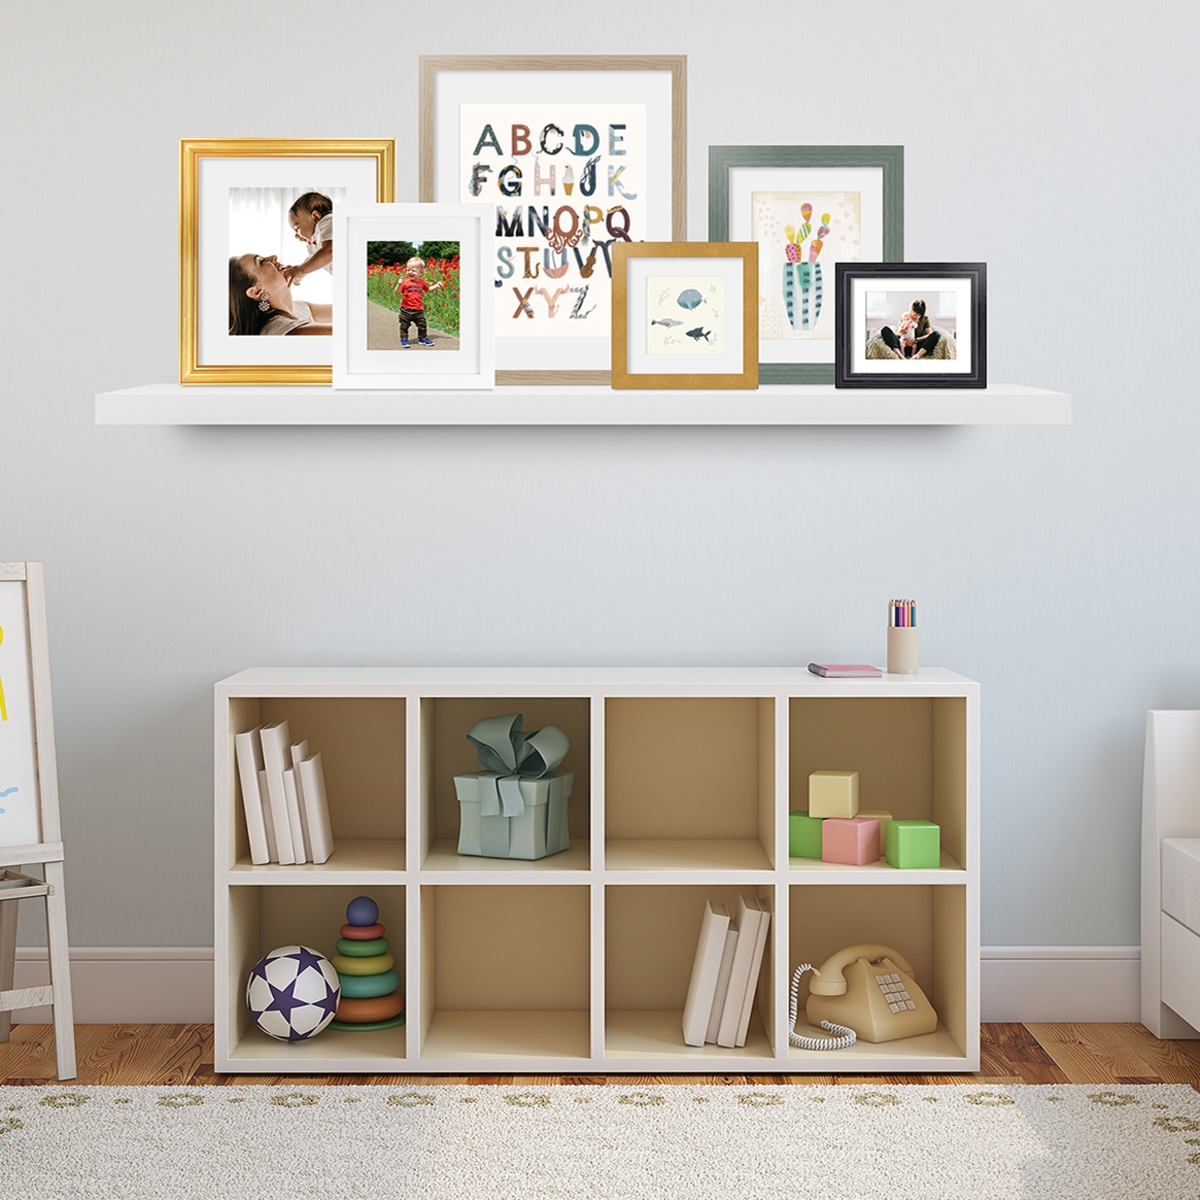
The key to creating a playful gallery wall fit for any nursery is mixing it up - not just with the images, but also with the frame styles, colors, textures, and mediums. Below is a step-by-step guide to creating a layered and balanced gallery wall that can change as often and as quickly as your little ones.
To begin, head to the frame shop and upload your favorite prints, photographs, children's illustrations, or anything you want to hang in the nursery and select a variety of frame styles (as well as acrylic and canvas prints) to create a mix of art that will add a playful touch to the nursery.
Find all the steps to building a perfect and playful gallery wall!
- Step One: Install Gallery Wall Ledge
- Step Two: Start With Large Frames
- Step Three: Add Contrasting Color Frames
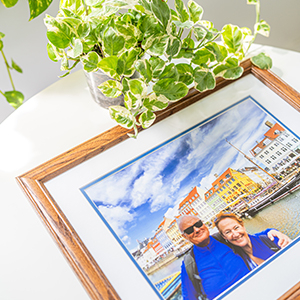
- Step Four: Sprinkle In Pics With The Little Ones
- Step Five: Layer Smaller Frames Up Front
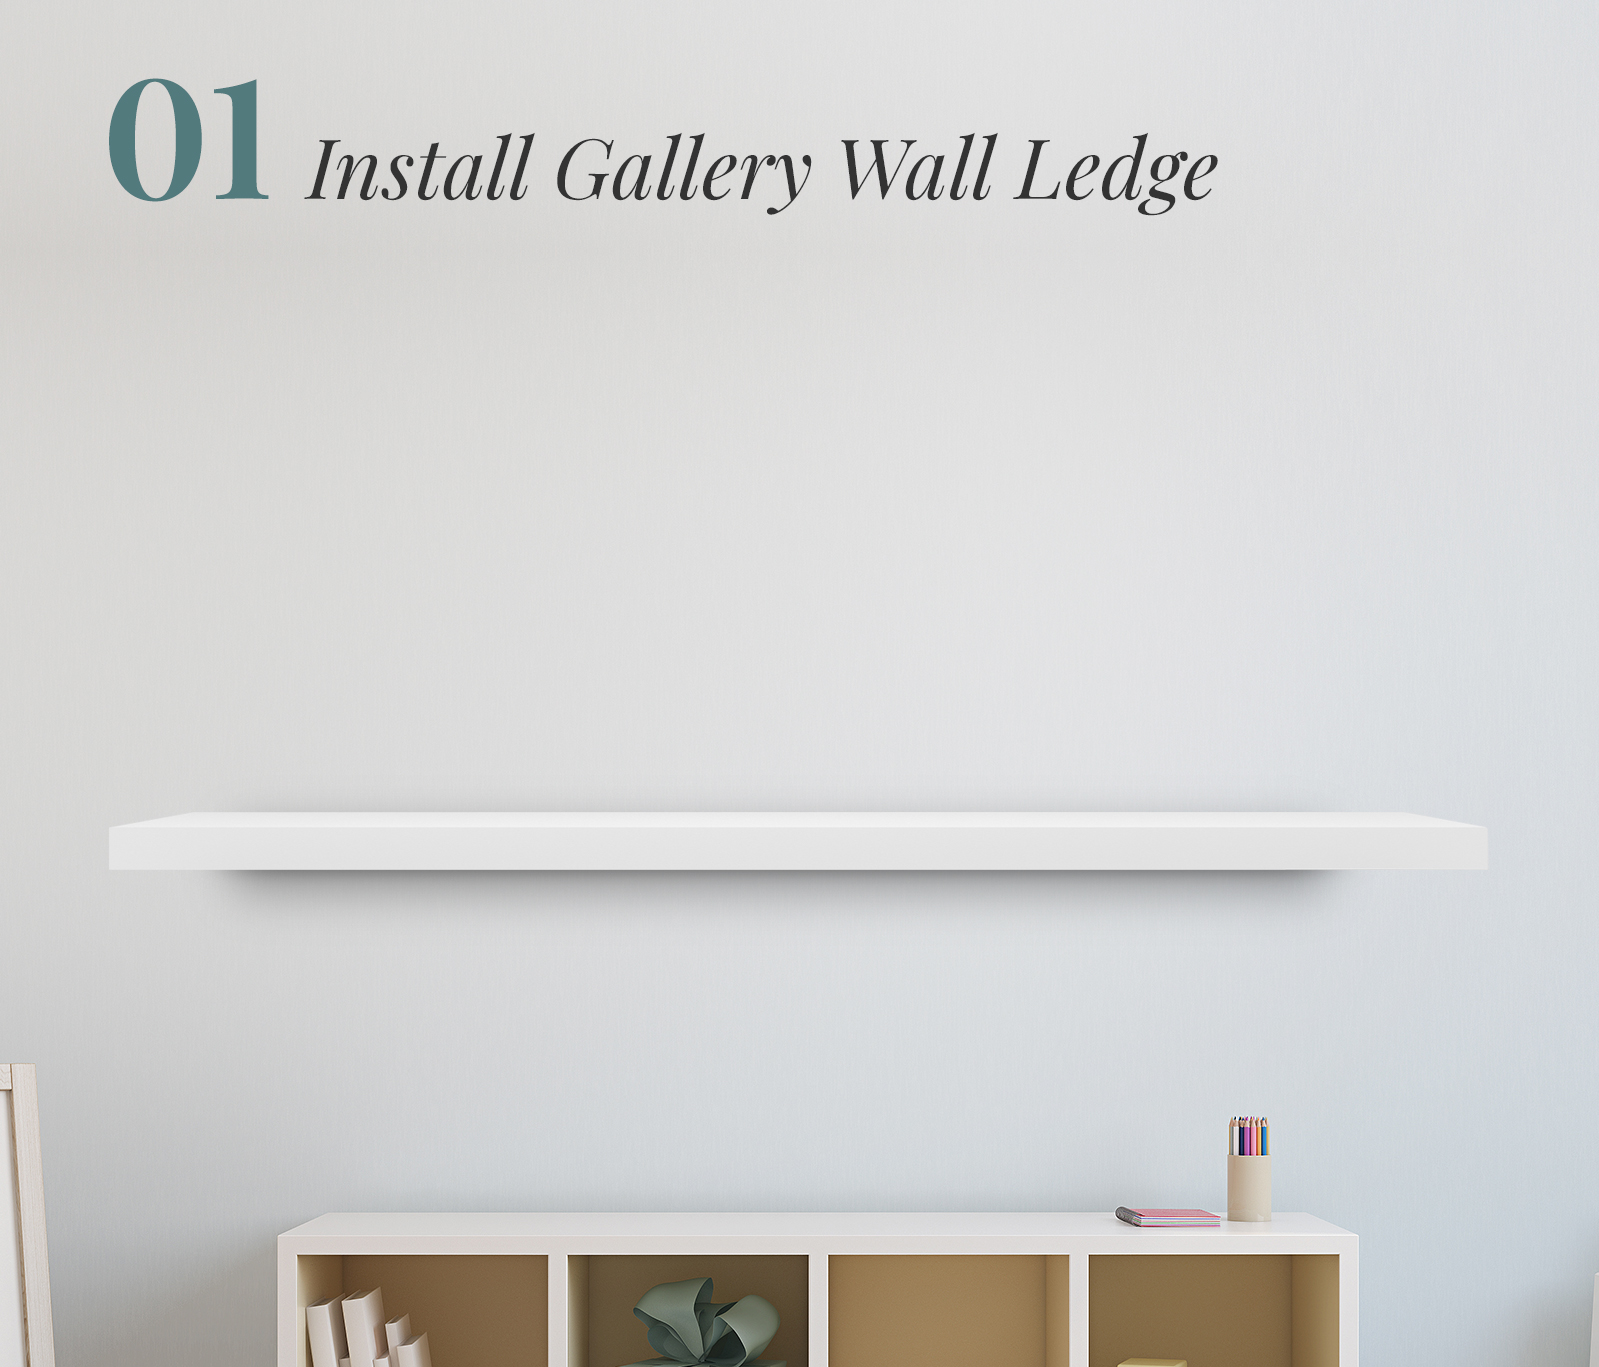
Step One: Install Gallery Wall Ledge
To start, we recommend installing gallery wall ledges. Ledges make it super easy to rearrange and replace art without drilling a million holes in your wall. Kids go through a million phases and change their minds about what they love often, so it's best to keep the ledges up so the art can change as often as they change their minds.
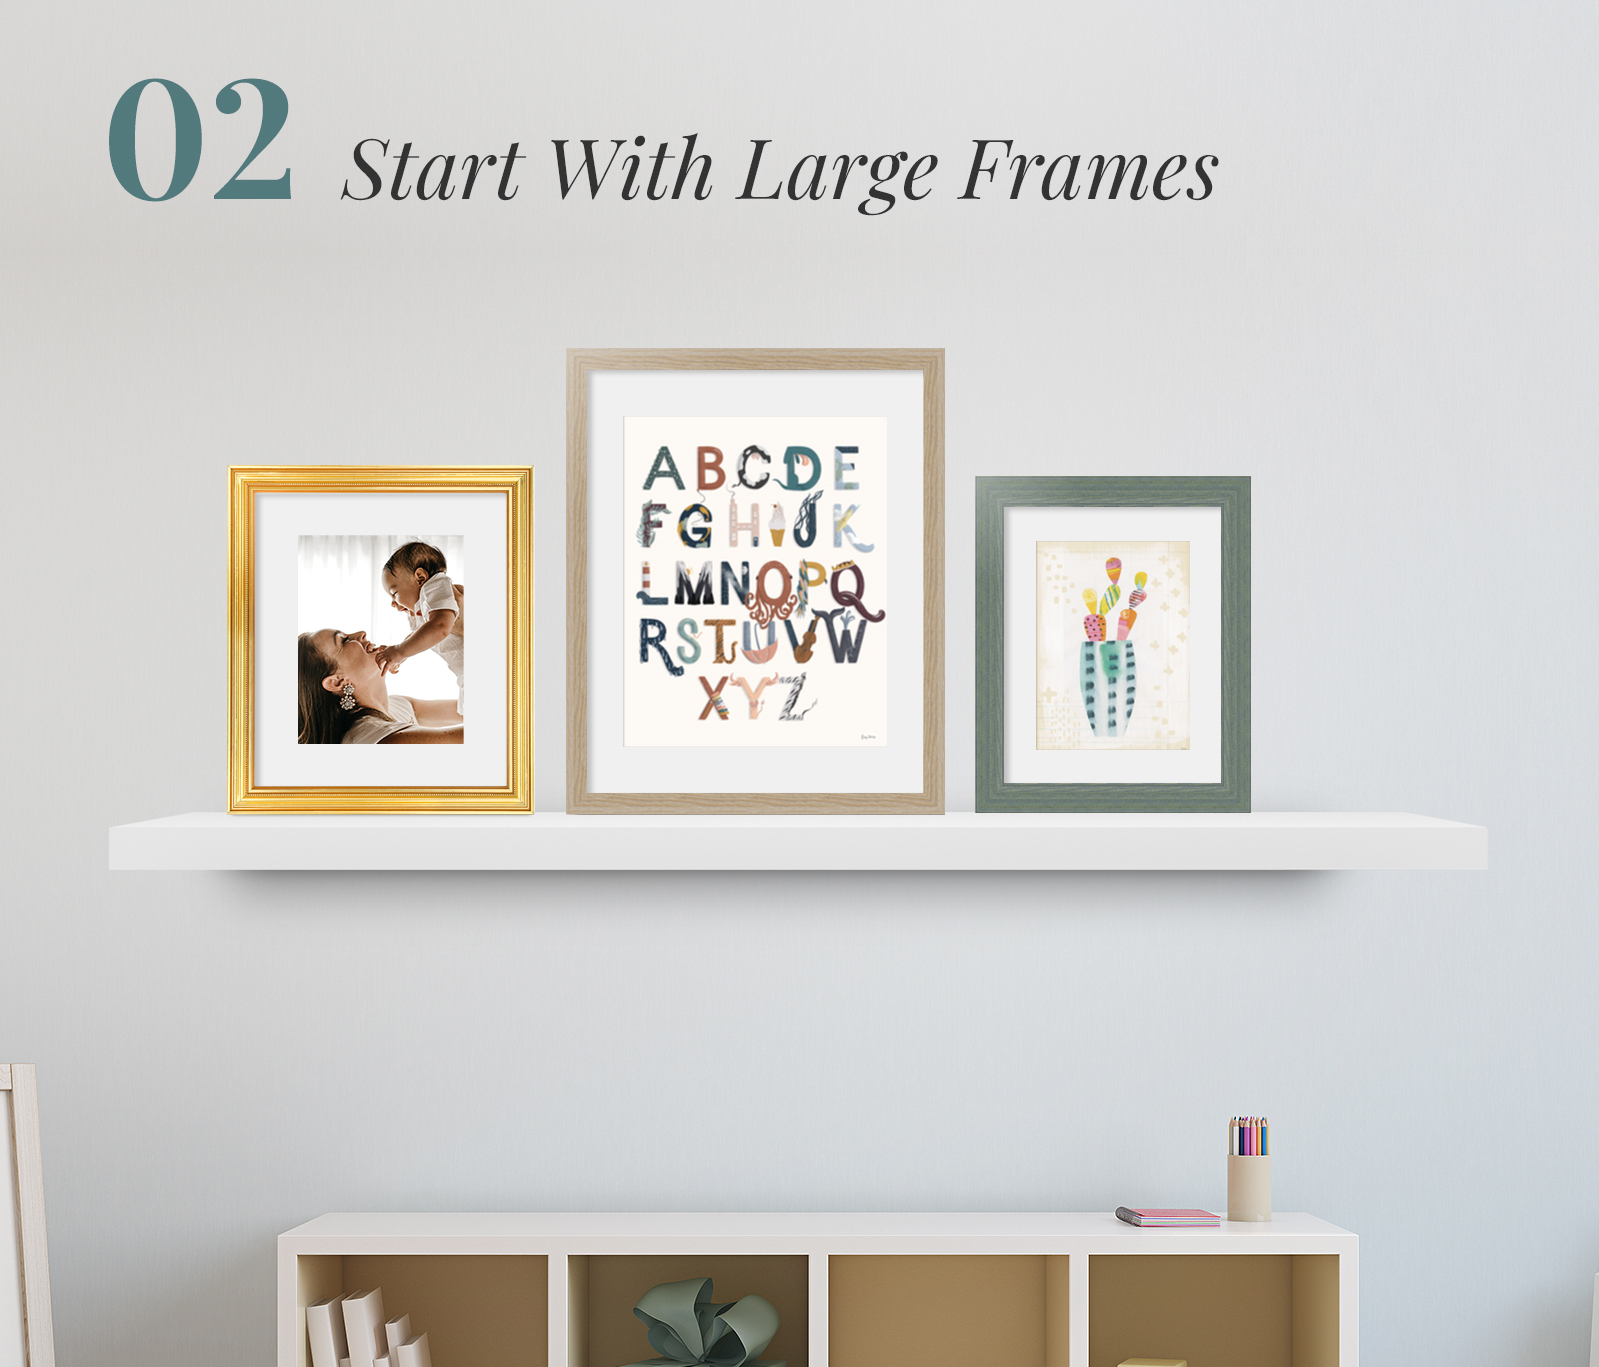
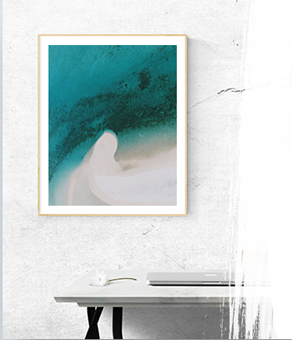
Step Two: Start With Larger Frames
Start with the larger pieces to anchor the gallery wall. Working your way in, disperse across the entire length of the ledges to create balance. Leave some space in between to add smaller pieces to add depth.
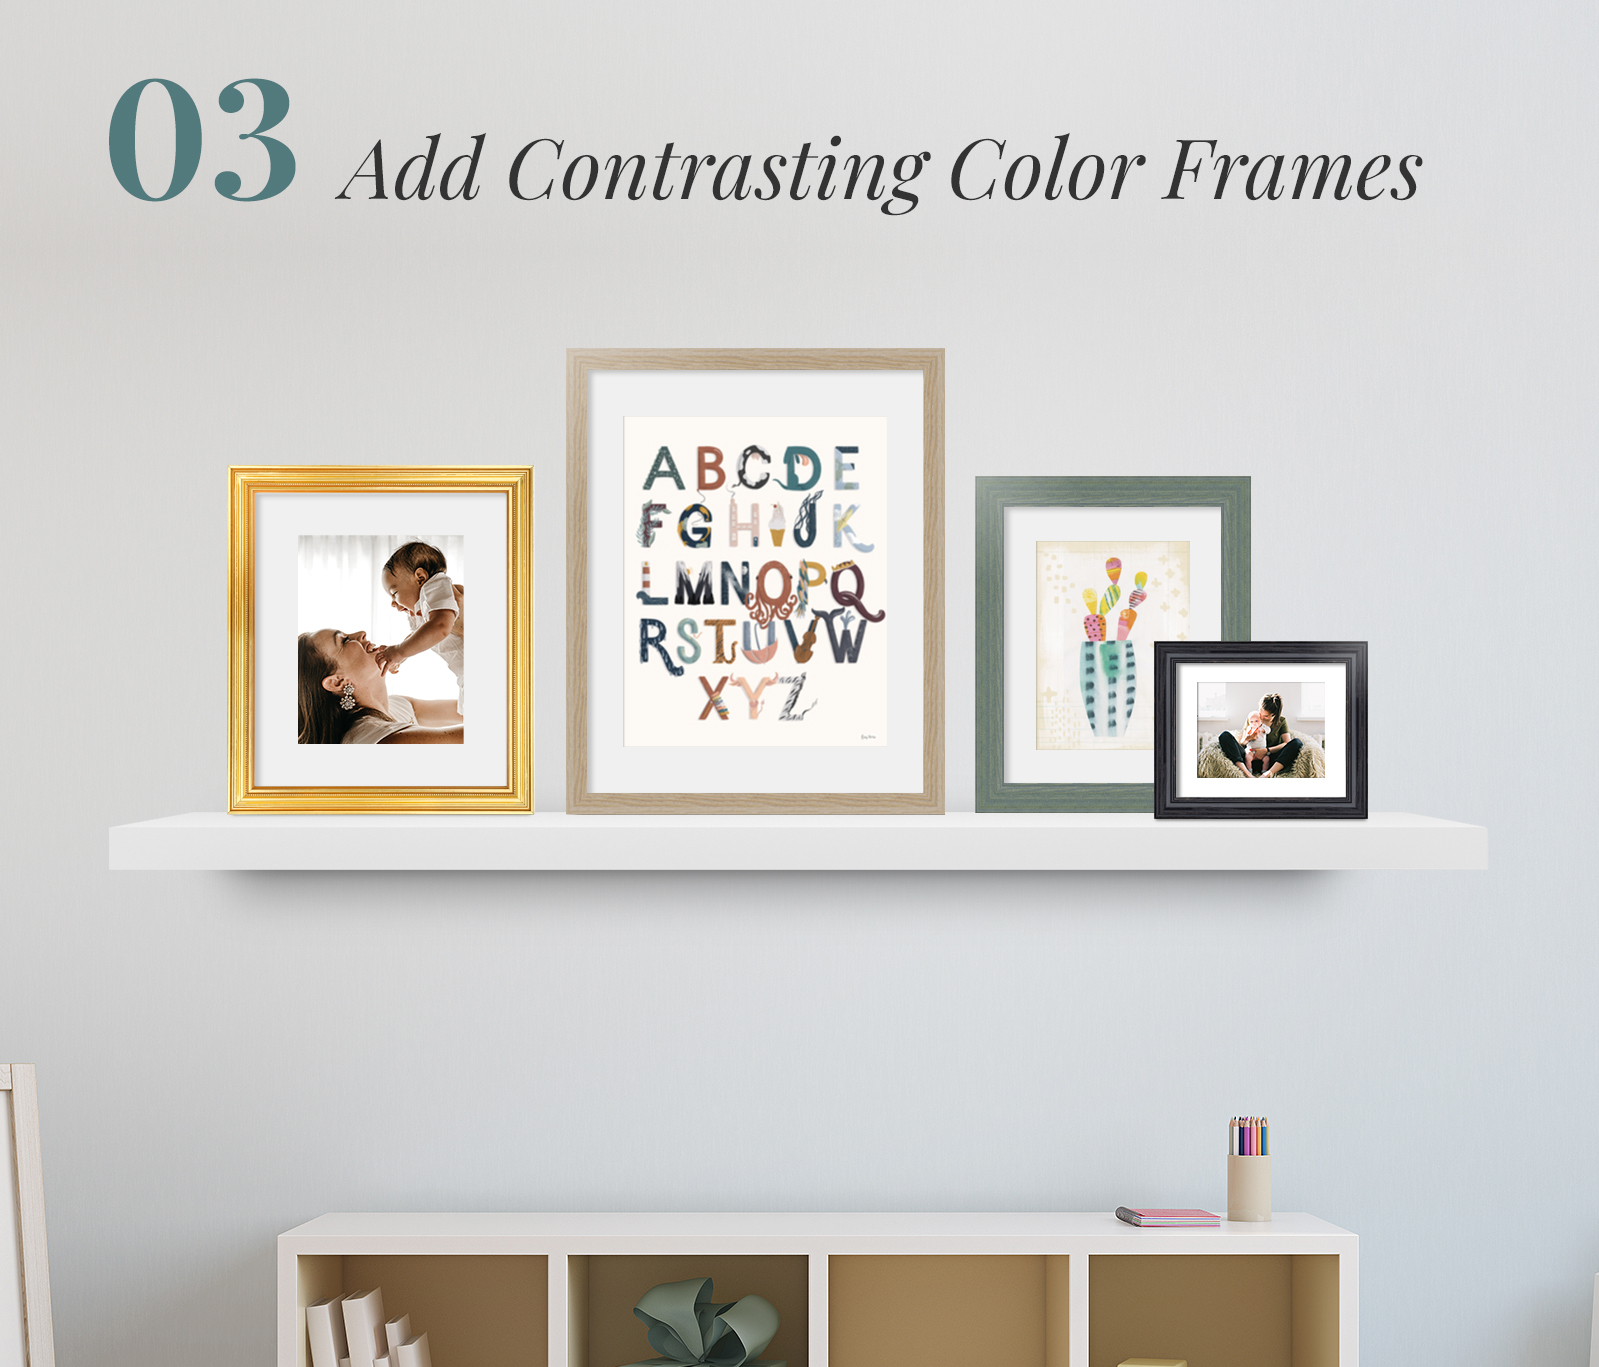
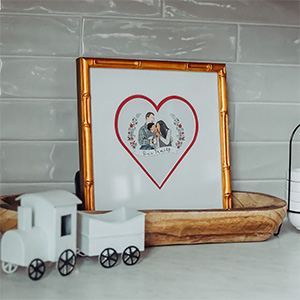
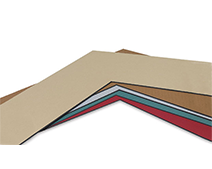
Step Three: Add Contrasting Colors
Add other mediums. Gallery walls don't have to be limited to frames only! Add in acrylic prints, canvas prints, or sentimental objects to mix it up and create a dynamic look!
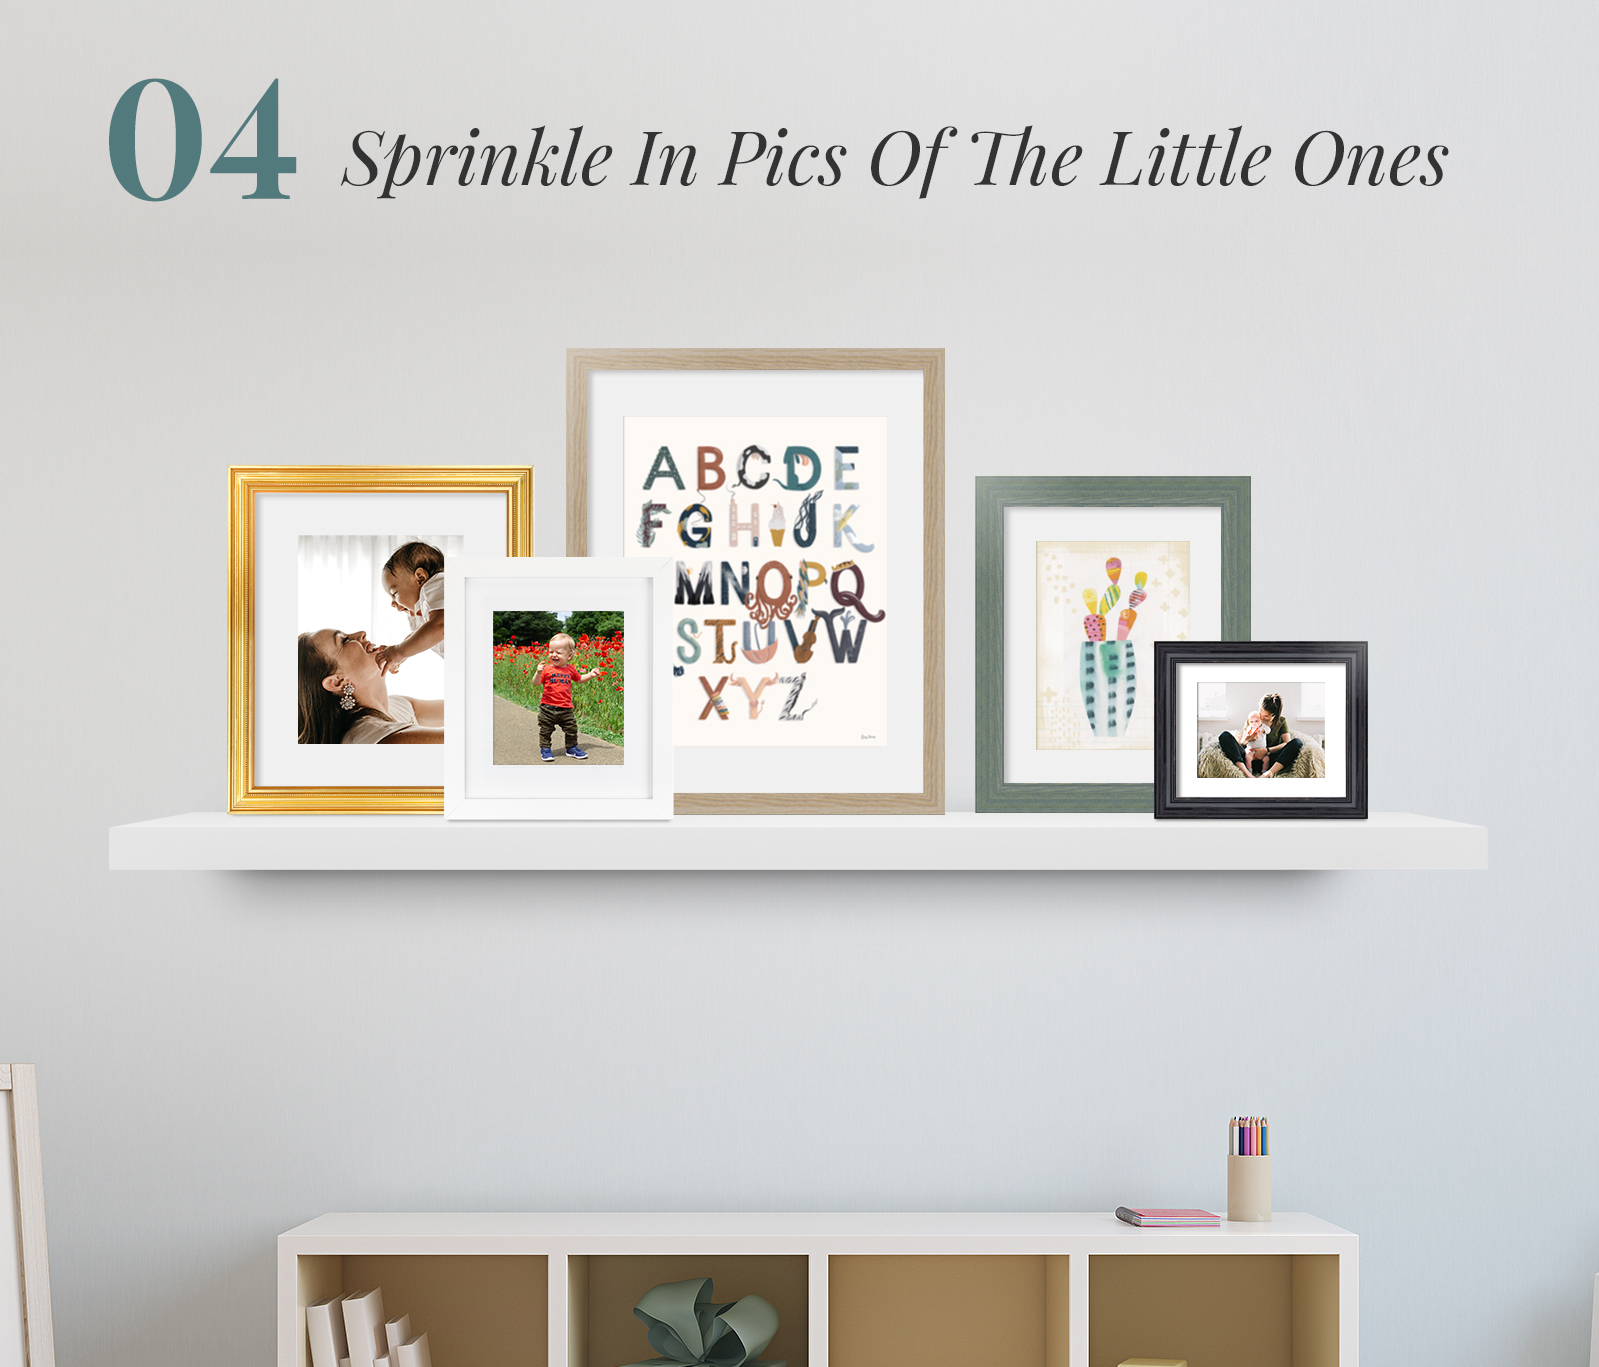
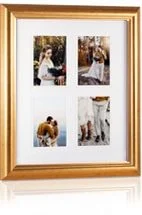
Step Four: Sprinkle In Pics Of The Littles Ones
Absolutely add some precious pics of the little ones! It's their special space - let them see that!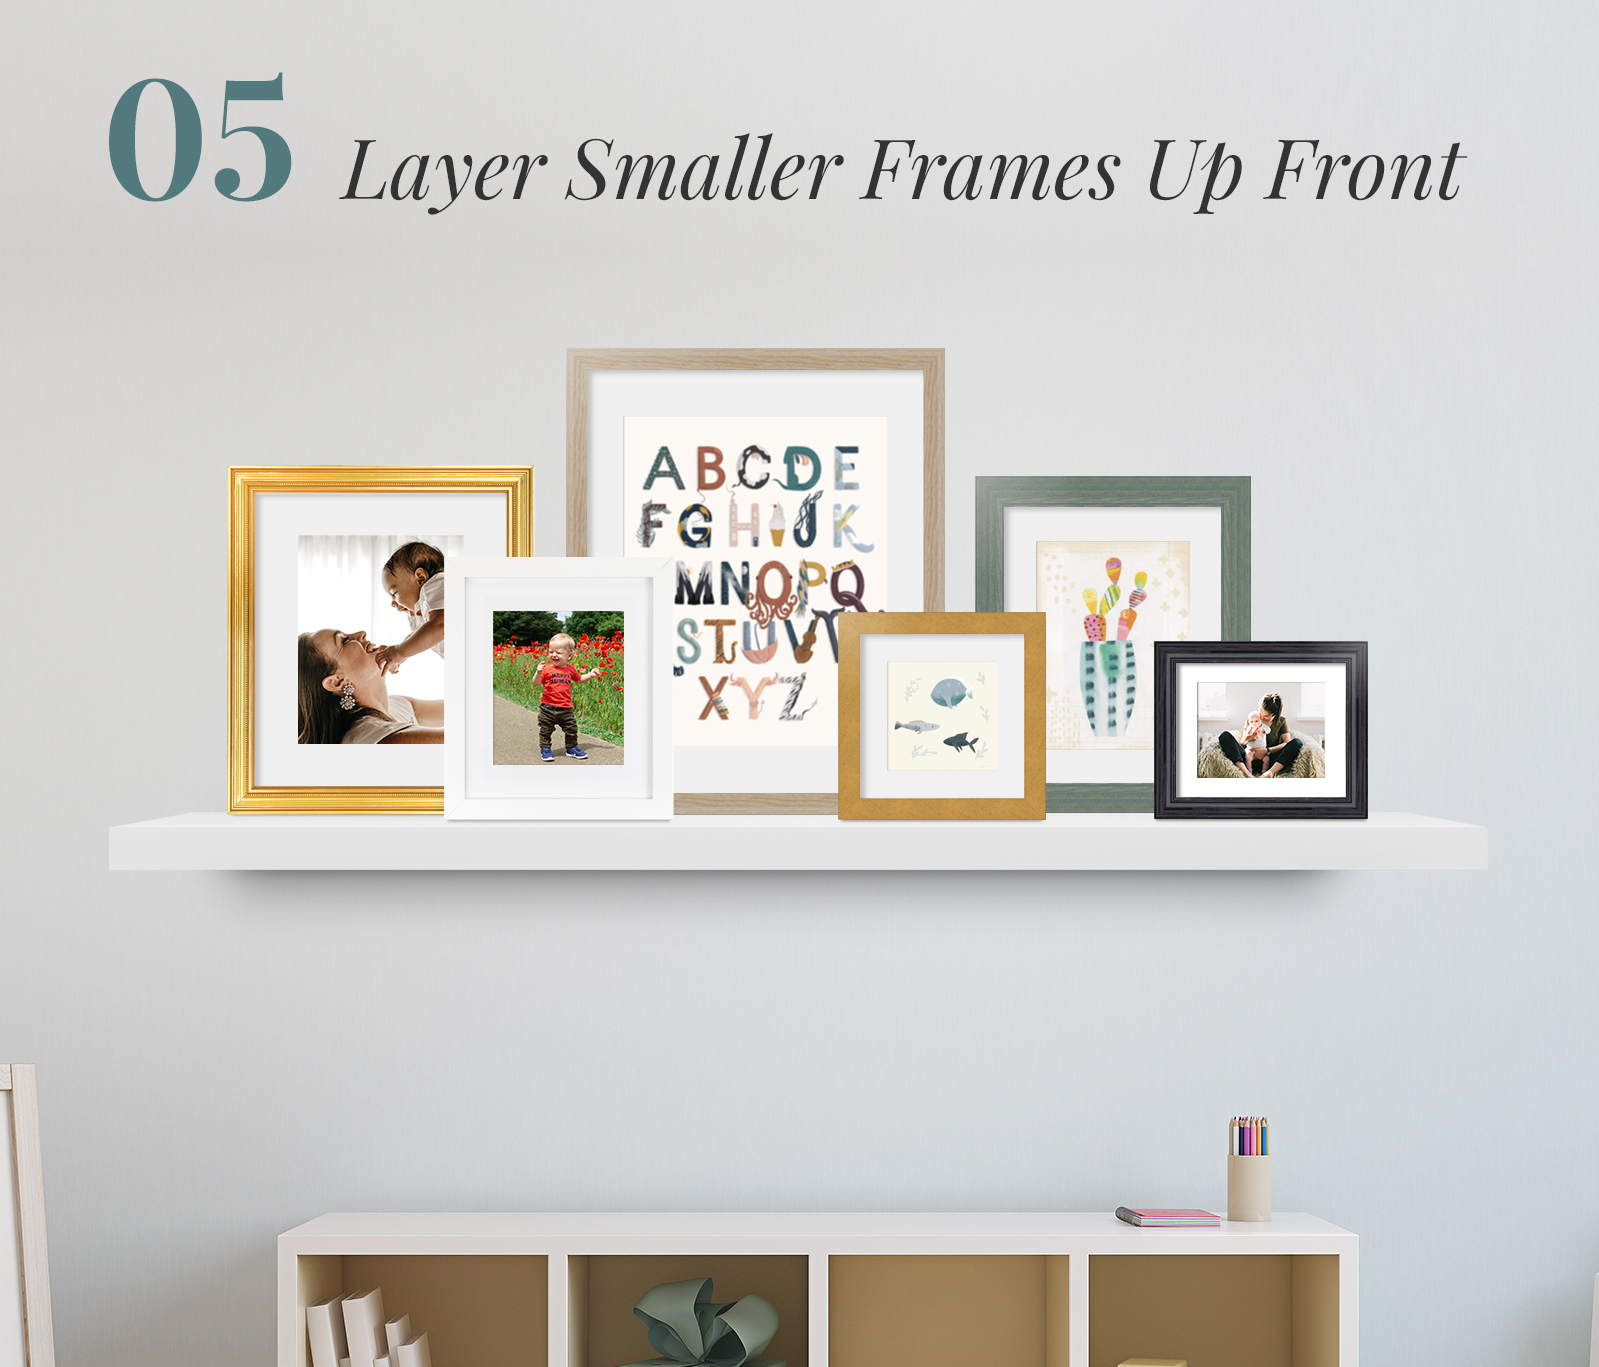
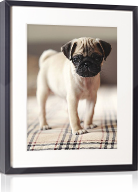
Step Five: Layer Smaller Frames Up Front
Add some smaller pieces upfront to create overlapping layers. (You may want to secure with painters tape on the back to make sure nothing flops over)
And...TaDa!